When to embrace the original drop, and when subtle tailoring improves balance
Oversized silhouettes and dropped shoulders can feel effortlessly cool, yet they often change how posture and proportions read at a glance. When should you embrace the original boxy intention, and when will subtle tailoring restore balance without sacrificing movement or comfort?
This guide decodes dropped shoulders and oversized shapes, shows how fit and posture affect visual balance, and helps you assess whether the design should stay as is. It also outlines gentle tailoring options, fabric and styling considerations, and the sustainability implications of altering garments so you can make informed choices that respect both intent and longevity.

Decode dropped shoulders and oversized silhouettes
Use a simple visual test to define dropped shoulders and oversized silhouettes: with the garment on, note where the shoulder seam sits relative to your actual shoulder line and measure how many centimetres it falls below, then observe sleeve hang and torso proportion to decide whether the effect is intentional or accidental. A seam sitting several centimetres below the shoulder, combined with extended sleeve length and extra torso width, usually signals deliberate ease rather than poor fit. Consider fabric and construction before altering, since lightweight woven fabrics and garments with minimal structure accept reshaping more easily than heavy knits, and raglan or dolman sleeves respond differently to seam moves than set-in sleeves.
Embrace the original drop when you want relaxed proportions for layering, when pairing with fitted bottoms, or when comfort and a contemporary look are the goal, and use tucking, half-tucks, and structured accessories to retain balance without altering the garment. If a piece overwhelms your frame or interferes with movement, make small interventions such as raising the shoulder seam to the natural shoulder, taking in side seams at the underarm, or shortening sleeves at the cuff to restore proportion while keeping intended ease. Pin and trial-fit changes on the body, run laundering and drying tests to see how the fabric relaxes, and try reversible options first—internal tucks, tailor tucks, safety pins, or detachable cinches—choosing permanent tailoring only after the new silhouette works with your wardrobe and lifestyle.
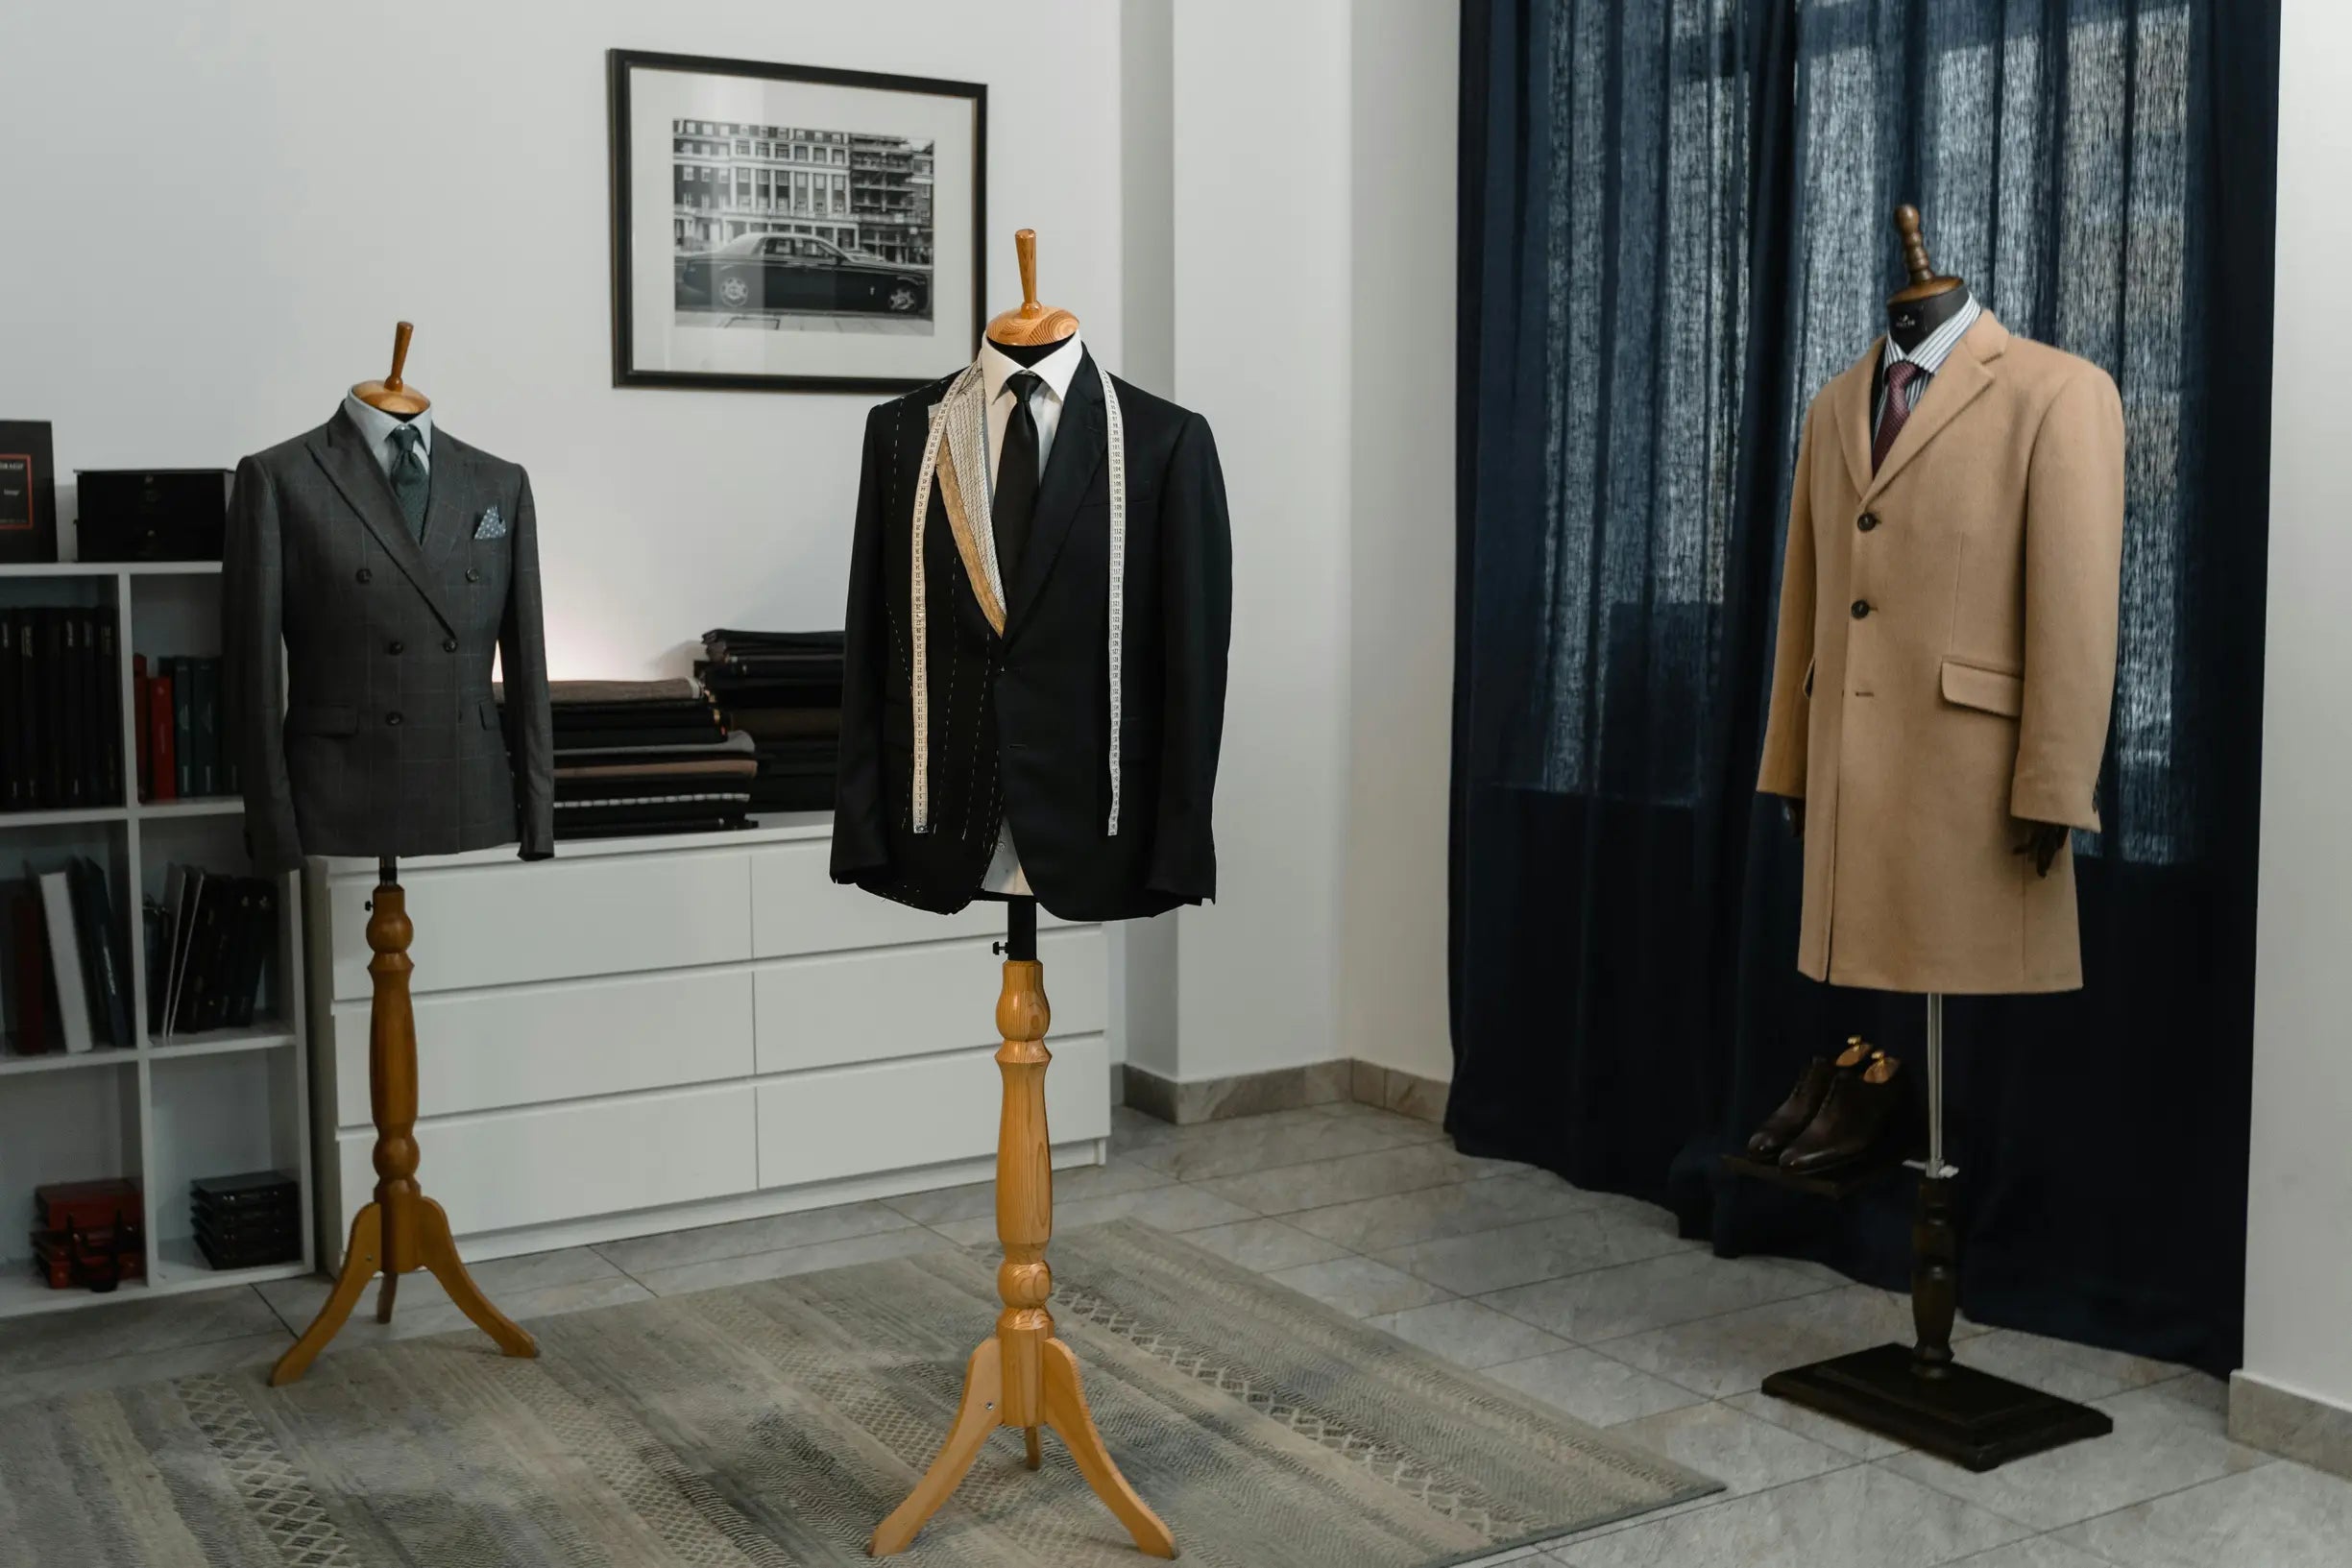
Choose a refined dropped-shoulder crew for effortless layering.

Assess proportions, posture, and how fit reads on the body
Start by distinguishing a deliberate dropped shoulder from poor fit by inspecting the shoulder seam and sleeve behaviour: if the seam sits past the natural shoulder yet the sleeve hangs smoothly and moves with the arm, the drop is likely intentional, whereas fabric that pulls across the chest, gapes under the arm, or creates excessive back bunching signals a fit problem. Anchor decisions with simple measurement and photo checks: stand naturally, photograph front and side from about a metre or two away, note where the hem lands relative to the waist and mid-thigh, and mark desired changes with pins before cutting. Re-photograph to confirm adjustments, which gives objective evidence you can reverse if the visual effect is wrong.
Account for posture and movement because rounded shoulders make a drop read larger and cause back fabric to ride up, while an upright carriage shortens the perceived drop; test garments while sitting, reaching, and walking, and tailor to the posture you wear most. Use subtle alterations that preserve the original silhouette, such as shallow centre back adjustments, small inward shifts of the shoulder seam, slight side seam tapering, or a modest hem shortening, and evaluate each change with temporary basting or pinning. If you retain a pronounced drop, rebalance with structured or fitted lower pieces, defined waist details, or a controlled half tuck to move visual weight away from excess volume. Visual evidence from photos and movement tests will tell you whether tailoring or styling achieves better balance.
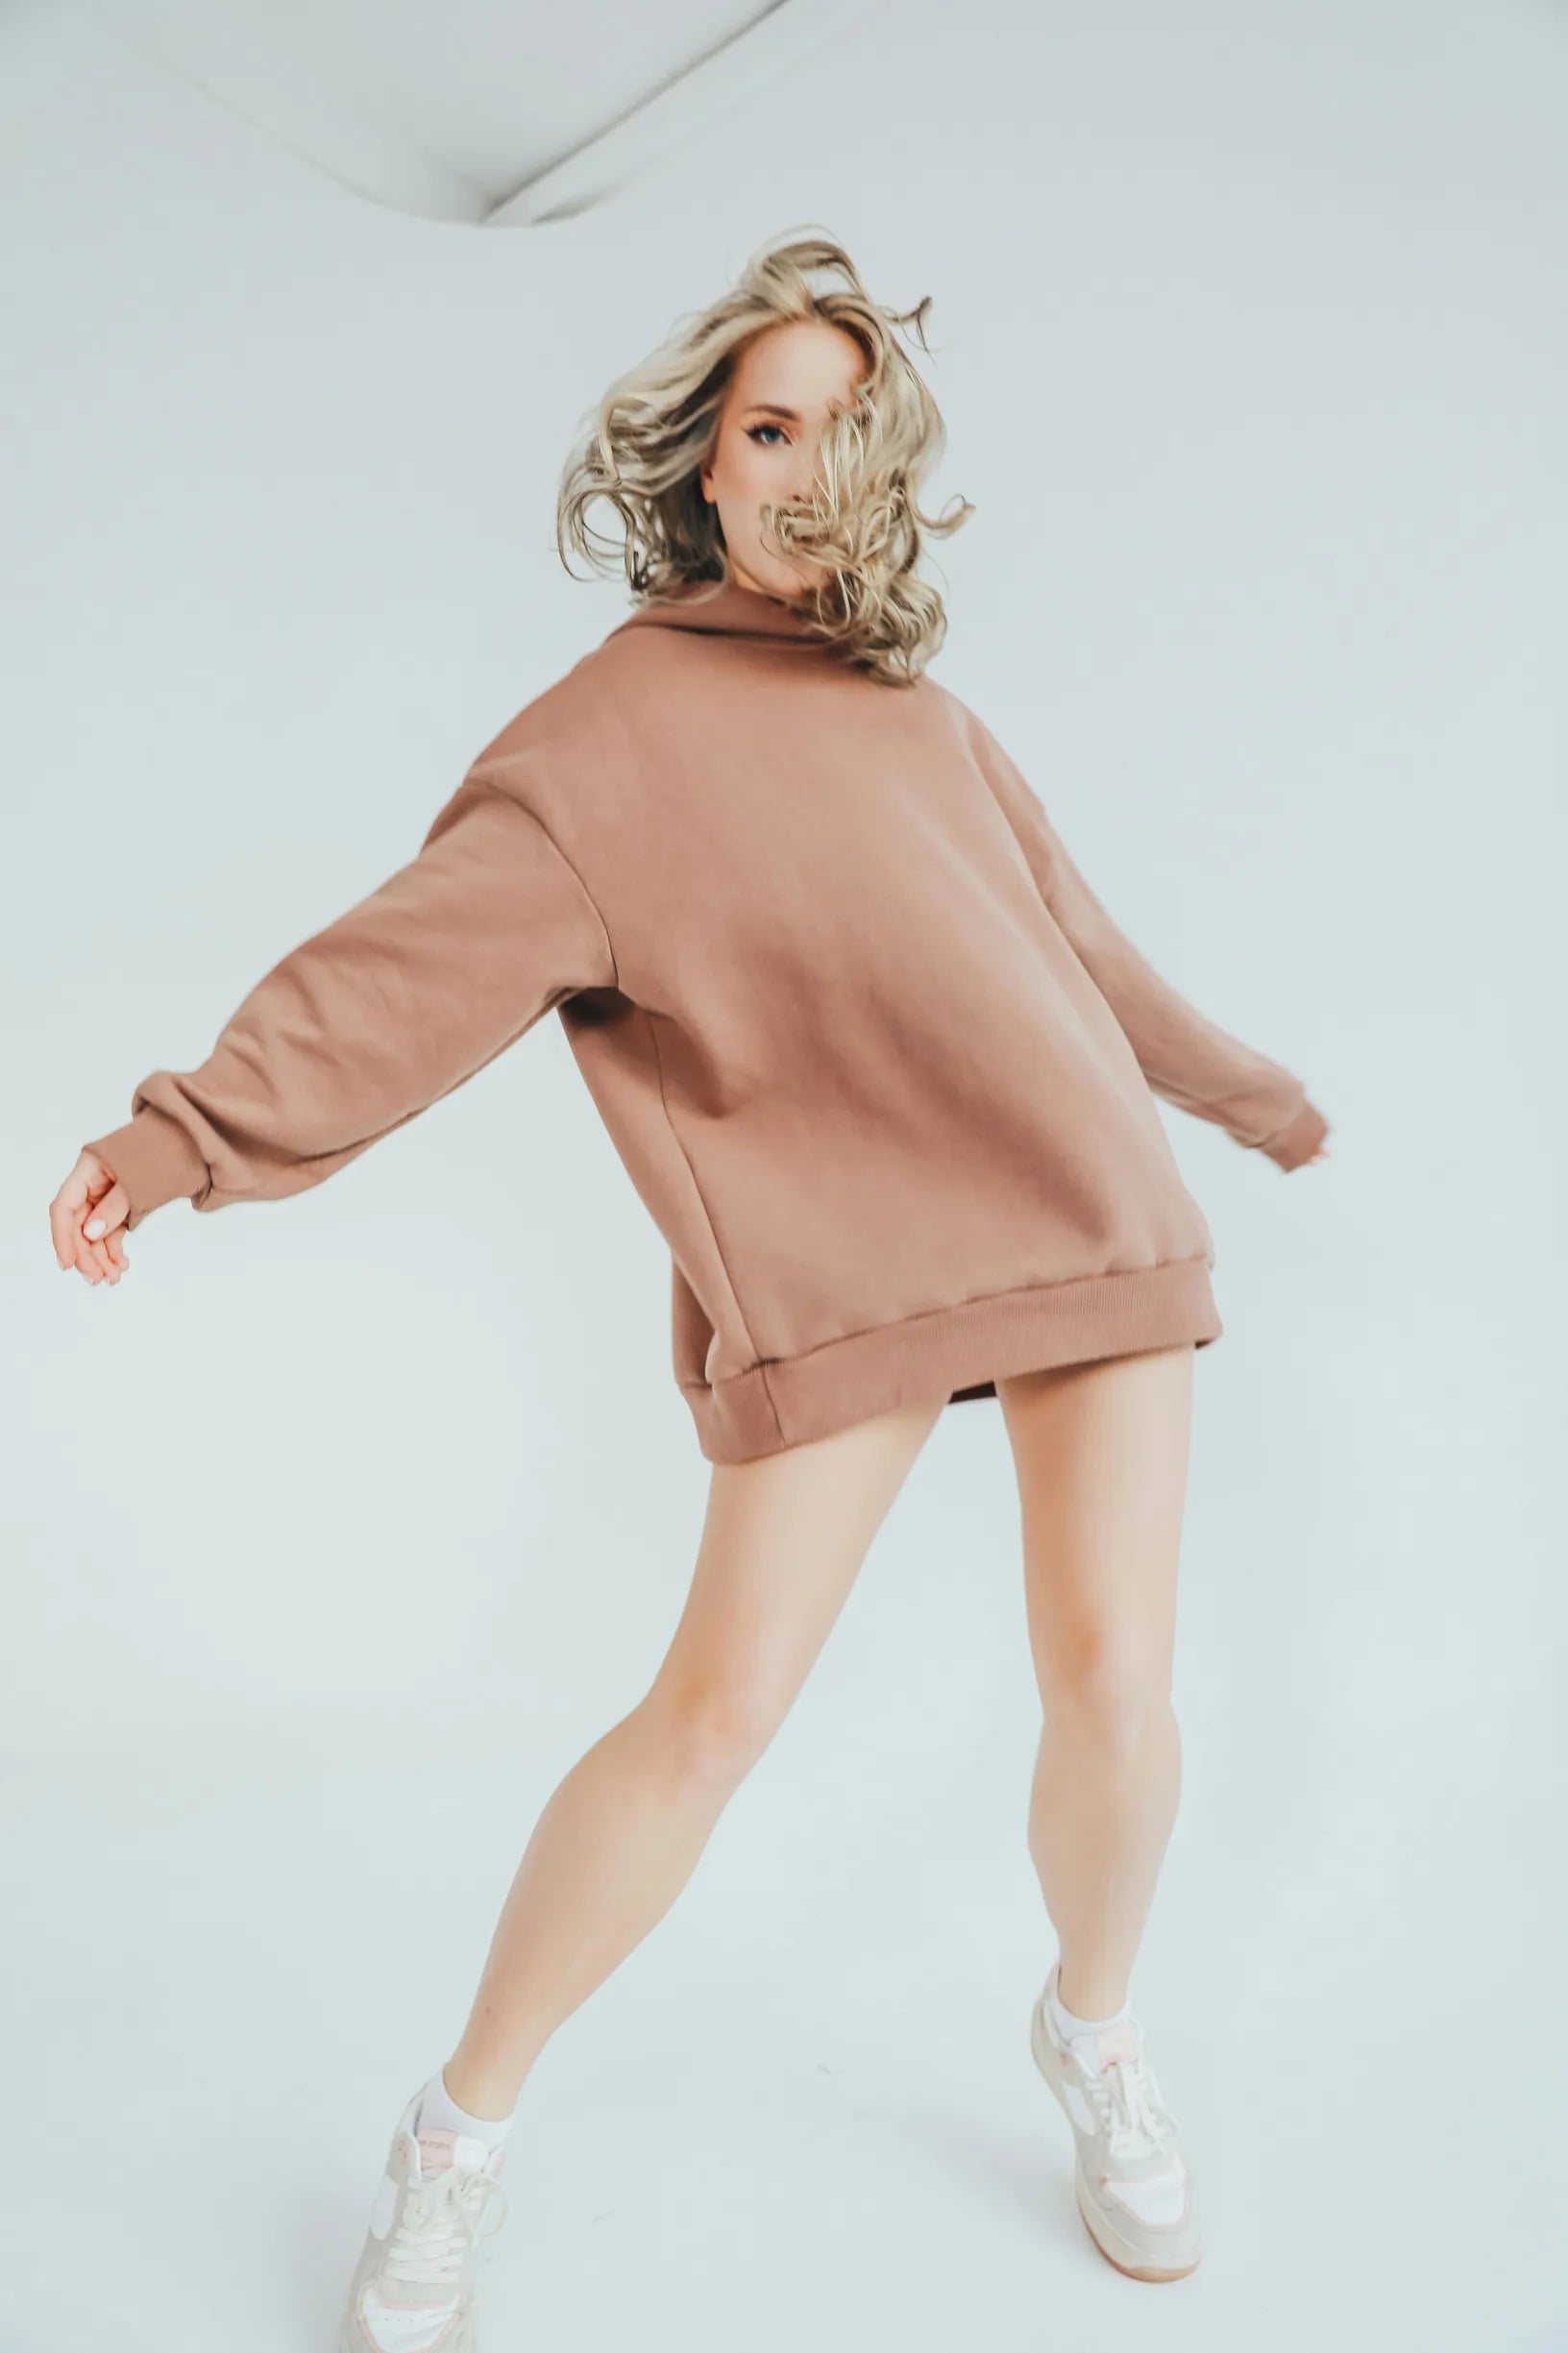
Balance dropped shoulders with a streamlined sweater-and-pant set

Embrace the original drop for style, comfort, and movement
The original drop often preserves a garment's intended proportion and movement because hems, vents, and patterning are cut to balance how fabric falls with typical footwear and layers. To check this, try the piece with the shoes and layers you will wear most, walk a full stride, sit and stand, climb a few steps, and lift your arms while watching whether the hem follows the body without pulling, flaring, or exposing the lining. If the fabric flows without tension, ride-up, or restricted shoulder movement, the original drop is supporting comfort and function and shortening risks upsetting that balance.
Clear signs that a subtle alteration will improve balance include excess pooling that catches on footwear, a front break that hides shoe lines, or a hem that skews printed patterns. Conservative fixes such as temporary basting, a slight front-only take-up, or releasing hem allowance instead of re-cutting let you test changes without committing to major work. Preserve construction details because vents, pleats, linings, bias cuts, and pattern matches control drape and movement, and altering them without reworking internal finishes can create bulges, misalignment, or restricted motion. When you visit a tailor, bring typical footwear and underlayers, describe how you will use the piece, request a basting stitch to test the new length, and wear the garment for a day if possible before final stitching so you can judge silhouette, comfort, and function.
Checks, signs, and minimal fixes to preserve the original drop
- Test movement with the shoes and underlayers you will wear most: walk a full stride, sit and stand, climb a few steps, and lift both arms while watching whether the hem follows the body without pulling, flaring, or exposing the lining.
- Watch for clear signs that a small alteration will help: excess pooling that catches on footwear, a deep front break that conceals shoe lines, or a hem that skews printed patterning.
- Choose reversible, low-risk fixes first: ask for temporary basting, a slight front-only take-up, or releasing hem allowance instead of re-cutting, then re-evaluate while performing your usual movements.
- When you visit a tailor, bring typical footwear and underlayers, describe how you will use the piece, request a basting stitch, and ask them to preserve vents, pleats, linings, and bias cuts; wear the basted garment for a day before final stitching to confirm silhouette, comfort, and function.

Tailor subtly to restore balance while preserving intent
Start with a decision checklist that specifies the core intent to preserve, identifies the functional and recognisable elements, and lists measurable indicators such as task completion, recall, or alignment with an overlay grid to assess whether change will harm success. Pair annotated before and after examples using overlay tools like the rule of thirds or a proportional grid to quantify edits; a 5 to 10 percent scale reduction, a subtle shift in focal point, or rebalanced negative space can show how balance changes without removing defining features. Run quick prototype trials with simple metrics, and you will have empirical evidence to decide whether the original should stand or be adjusted. These data points let you weigh recognisability against structural integrity and make a transparent, repeatable decision.
Apply minimal, reversible interventions, such as micro-scale adjustments, reduced spacing, softened contrast, or relocating a single anchor element, and document the original state so every edit can be undone and compared. Use a rapid user-testing protocol: produce two prototypes, show them to a small but diverse panel, ask consistent tasks or preference questions, and record both qualitative comments and quantitative preferences to determine which version delivers the intended effect. Watch for common failure modes like over-correction, imbalanced counterpoints, or lost legibility, and follow clear corrective actions and a stop rule: if any core metric drops or intent becomes obscured, revert and try a smaller change.
Try a refined, timeless silhouette that retains recognizable character

Weigh fabric, styling, and sustainability before altering the silhouette
Begin by assessing how the fabric behaves: pin a fold, walk in the garment for several minutes, and watch whether the material springs back, shows directional pile, or struggles with recovery, because heavy interfacings or linings often mean small hem or seam edits will sit differently than on lightweight, fluid cloths and may require reconstructing facings to avoid puckering. Use proportion checks and photographic comparison with the shoes and layers you plan to wear, then move the focal line by a centimetre or two with pins and photograph again, as small shifts frequently change perceived leg length and torso balance more effectively than large reconstructions. Prefer reversible, low-risk techniques such as pinning, basting, and temporary hemming to evaluate balance while keeping original panels intact. Let before-and-after images and movement tests guide whether the garment needs only a simple tweak or a more involved intervention.
Follow a clear decision checklist: note movement test results, photograph intended styling, mark desired points with chalk, pin and baste to reassess, then confirm seam allowance and lining access before committing to cutting or rebuilding. Choose modest tailoring when the garment is structurally sound, since preserving original construction reduces textile waste and keeps trim intact, whereas opening structural seams or removing linings creates offcuts and often requires new interfacing. Treat visible signs such as pulled seams, mismatched grain, or insufficient allowance as red flags that demand a more involved solution rather than a quick pin.
This guide explains when to embrace a dropped shoulder or oversized silhouette and when small, evidence-led adjustments restore proportion without sacrificing movement or design intent. Apply simple tests: measure seam position, photograph from the front and side, and trial pins or bastes while moving to see whether styling or subtle tailoring produces the best visual balance.
Refer to the guide's sections on decoding fit, assessing posture, embracing original drops, tailoring subtly, and weighing fabric and sustainability to match interventions to fabric behaviour, posture, and construction, avoiding issues like puckering, misaligned patterns, or restricted motion. Pin, baste, and photograph modest changes first, then choose reversible fixes that preserve original construction where possible to keep the garment's purpose intact and reduce textile waste.
